When setting up a Snowflake user network policy IP whitelist with DataTools Pro or Azure Data, you are allowing secured traffic between Azure and Snowflake for a specific system user. This article explains step by step instructions and guidance to locate and input the IP addresses for your Azure Data Factory location.
Updated Notes for 2024 forward
This network policy and whitelist tutorial remains valid, but since 2024, Snowflake has updated and upgraded its security controls to create a more secure configuration. In this tutorial we will point out where new policies and best practices apply.
Create the Snowflake Network Policy
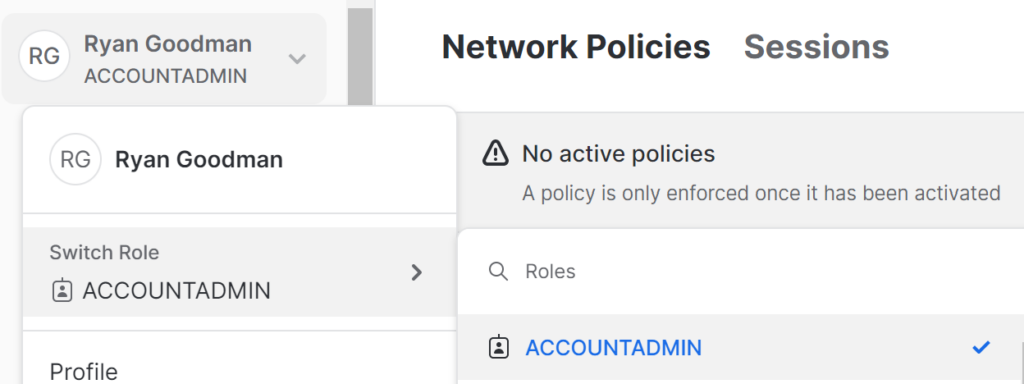
1. Toggle to the ACCOUNTADMIN role

Navigate to Admin > Security

2. Click + Network Policy

3. Enter a Policy Name. In this example I added “ADF_SYSTEM”
4. Paste the Allowed IP Addresses
5. Add comment highlighting that the policy is user specific. In this case I highlight what the IP addresses to keep the future administrator aware what these IP addresses point to.
Click Create network policy
Important Note:
Do Not Activate the policy from this screen. This tutorial is designed to assign a policy to a user and not Account level policy. The Snowflake UI (called Snowsight), does not provide the screen to add a policy to a user so we will write a little SQL to apply this policy to an individual policy.
Apply the Snowflake User Network Policy to your User
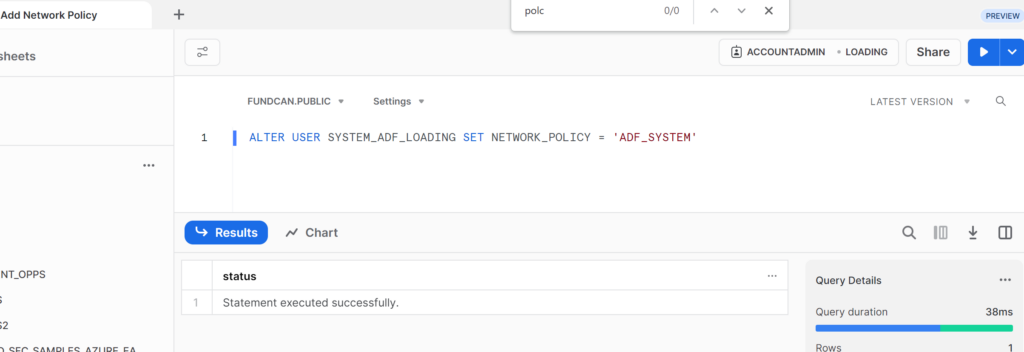
To complete this step you need to write a little SQL. Go to Snowflake Worksheets to write SQL that creates your network policy for an individual user:

Enter the following SQL Code. In this example “SYSTEM_ADF_LOADING ” is the name of the Snowflake user and “ADF_SYSTEM” is the name of the policy you just created.
ALTER USER SYSTEM_ADF_LOADING SET NETWORK_POLICY = 'ADF_SYSTEM'To Unset a network policy you can use the following SQL:
ALTER USER SYSTEM_ADF_LOADING UNSET NETWORK_POLICYDataTools Pro IPs
To obtain the DataTools Pro IP address to add to your Snowflake network policy:
- Login to DataTools Pro App
- Go to Settings
- Click on Snowflake Integration
- Click on the accordion menu item labeled “How to whitelist DataTools Pro IP address”
- Obtain the IP address to ensure you have the latest IPs for your region.
Azure DataFactory IPs Find your Availability Zone Location
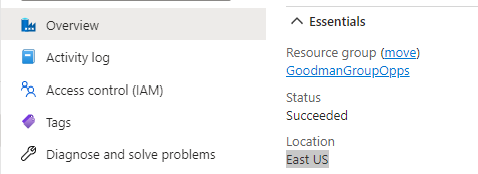
On the Azure home page, you can locate your “Location”. Make sure you pay attention as there could be more than 1 AZ name like East US and East US 2.

Download Azure IP Addresses by Service Tag
Download IP address listings by service tag from Microsoft Download Page
You will need to open this file in notepad and search for “DataFactory” and the Availability Zone location
Example Azure Availability Zone. I am showing US East 2 IP addresses.

Resulting IP addresses should be formatted as a comma separated list like the following. Because Snowflake is deployed in USWest2 and USEast2, I have pulled the IP addresses as of 1-1-2025.
US-EAST2 – DataFactory.EastUS2
20.41.2.0/23, 20.41.4.0/26, 20.44.17.80/28, 20.49.102.16/29, 20.98.195.172/32, 20.98.198.224/29, 40.70.148.160/28, 40.84.85.144/28, 40.84.85.192/28, 52.167.107.224/28, 172.210.218.144/28US-WEST2 – DataFactory.WestUS2
4.154.144.64/29, 13.66.143.128/28, 20.42.129.64/26, 20.42.132.0/23, 20.125.4.170/31, 20.125.5.248/29, 40.64.132.232/29, 40.78.245.16/28, 40.78.251.192/28, 172.179.209.16/28, 172.179.209.32/29As you notice the IP addresses are inclusive of the digits after the “/” which is called CIDR notation.
Azure DataFactory Toubleshooting
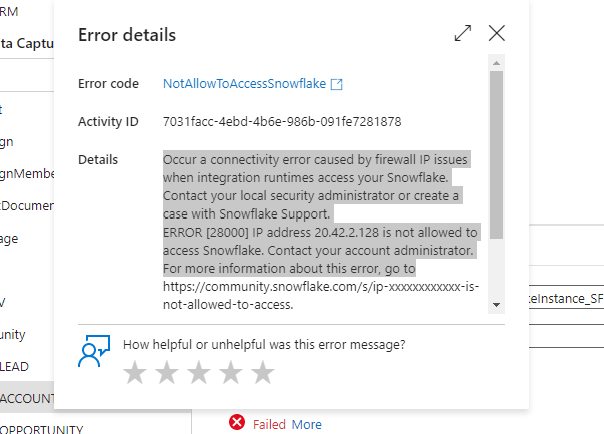
If you ware using ADF and get an error, it will provide you with the specific error.

Want to learn how to use Azure Data Factory with Snowflake? View our Tutorials page
