To connect Azure Datafactory to QuickBooks you have to carve out at least 30 minutes to step through Intuit developer onboarding process which is less abbreviated than other developer processes. This is because they pool internal and third party development governance into 1 process. As such some of the steps may not seem logical, but are required. With that background and context, we have worked through the process to figure out the nuances so you can charge forward to pipe data from Quickbooks to any data sink in Azure DataFactory.
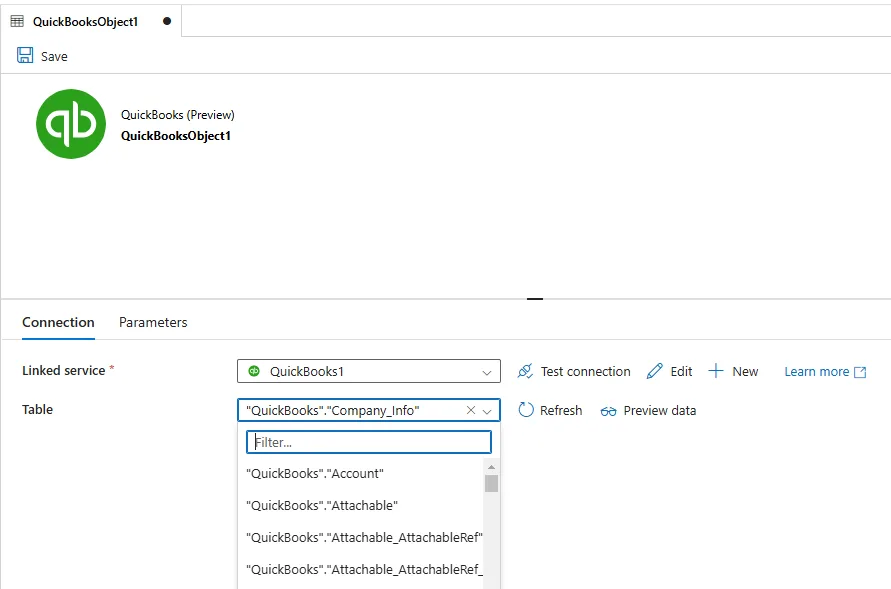
Setup your Intuit Developer Account
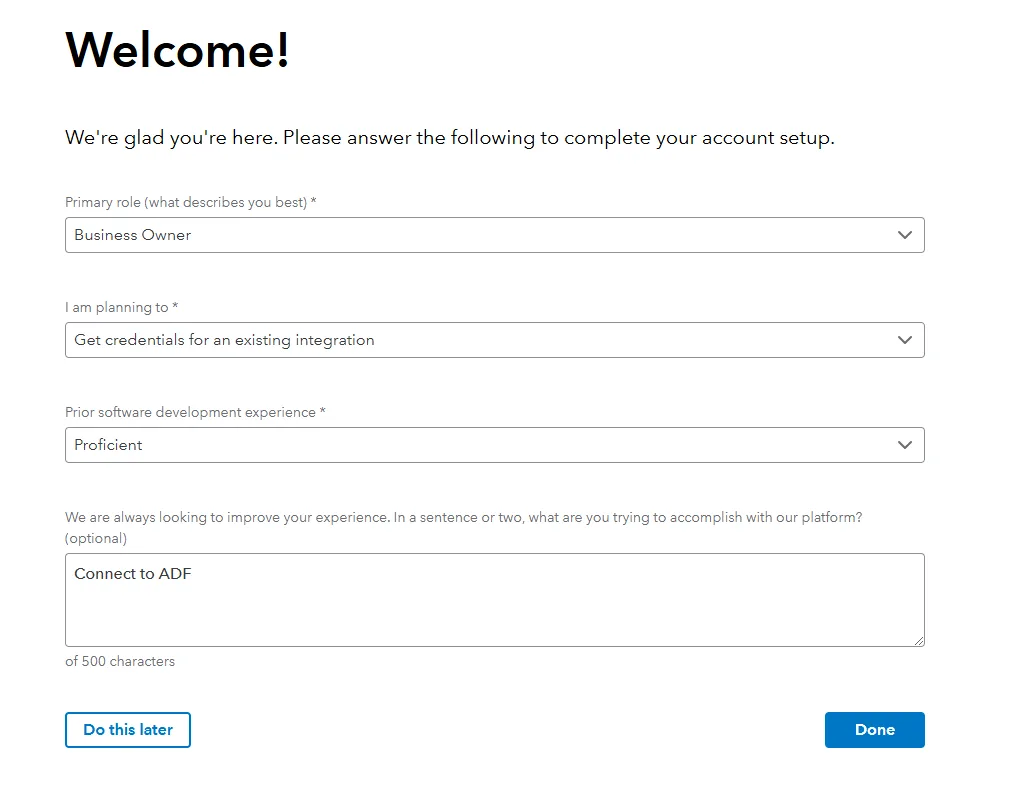
Create a Workspace
Create a new workspace which also identifies who you are and the relationship to the company you are working with which should typically be the same unless you host and manage data as a managed service provider.
Create an App
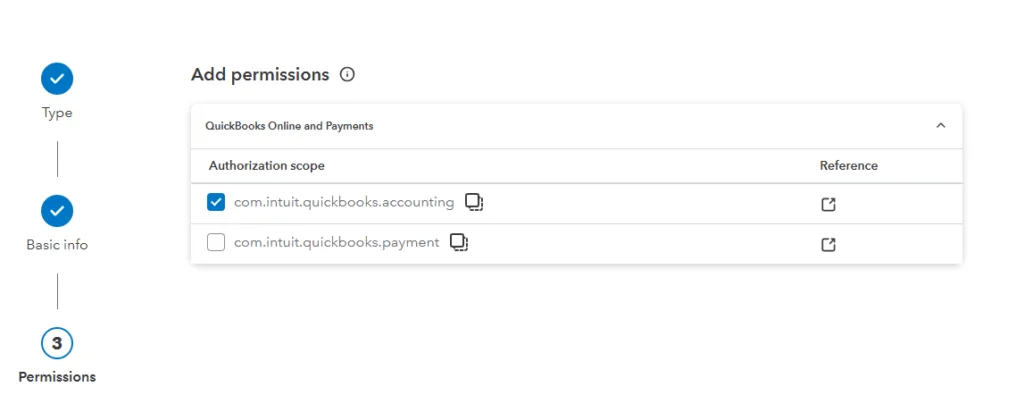
Create a new app and set the authorization scope. For QuickBooks accounting, only select the account scope, as payments may require additional governance steps that may not be necessary.
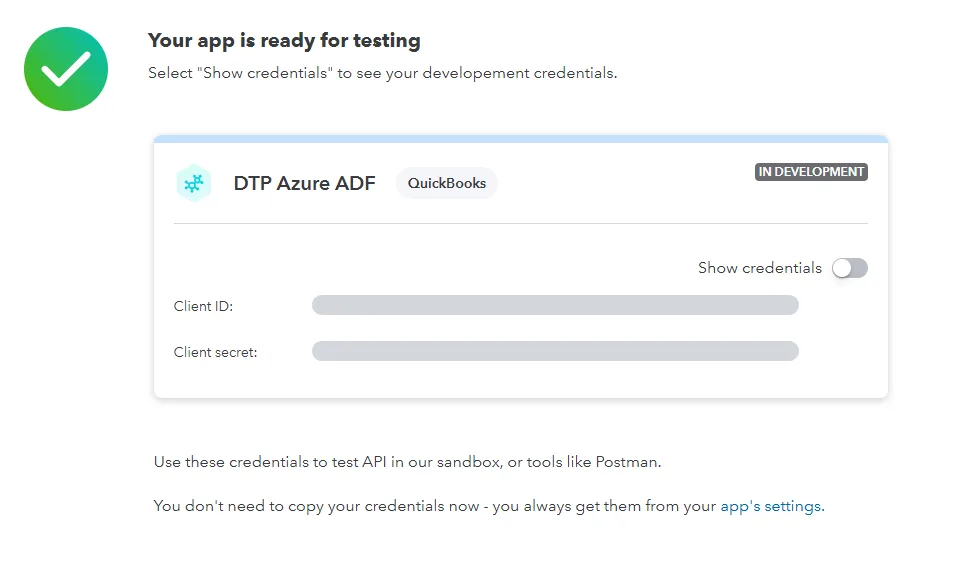
Acquire your development credentials
Save your credentials in a secure, encrypted key store
Acquire your production token and secret
Within your workspace and app, you can go to keys and credentials to acquire your production credentials.
https://developer.intuit.com/workspaces
To get production access, you need to fill in app details and fill in compliance
This may feel redundant / overkill for an internal application. Ultimately Azure DataFactory is the solution / tool that is natively integrated with QuickBooks. Frankly, a lot of this information is irrelevant since you are not the developer of the app, but rather an end user of the integration. As such, I have shared the inputs i used to make a best attempt to accurately provide app details and compliance.
- View App Details
- View Compliance
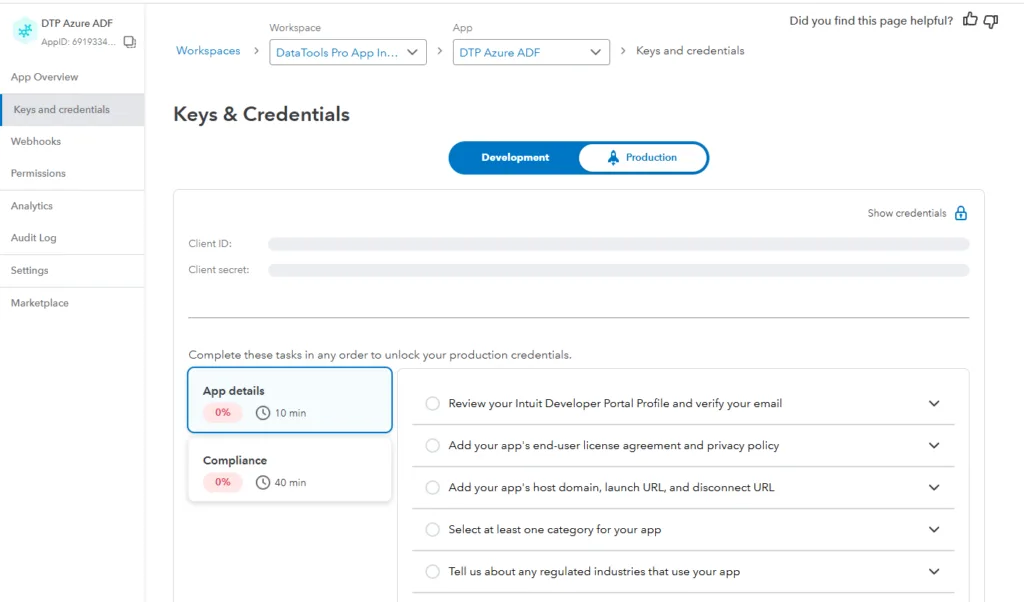
Upon completing this survey, you will have access to the production key and secret.
Click “Show credentials’ to view your Client ID and Client Secret.
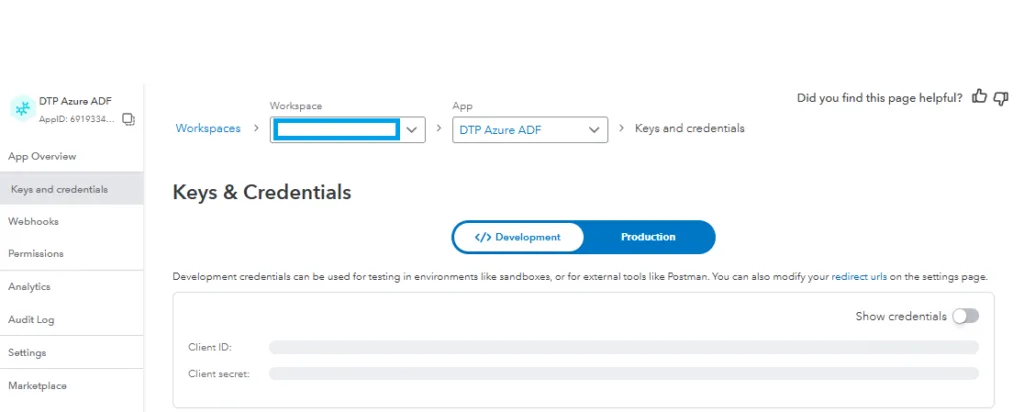
Generate your Refresh Token
Go to the Oauth Playground: https://developer.intuit.com/app/developer/playground
Select your app, select the com.intuit.quickbooks.accounting scope
Click “Get authorization code”
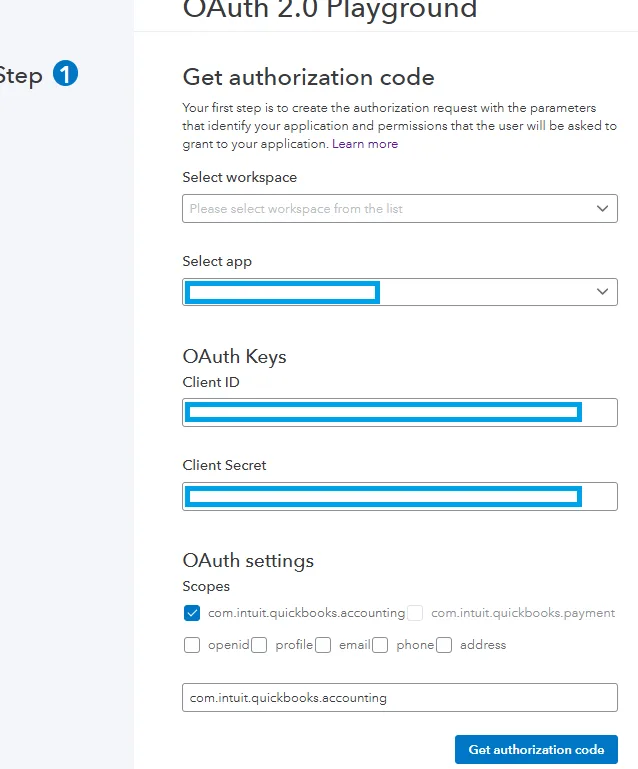
Grant authorization from your app to quickbooks
Click get tokens
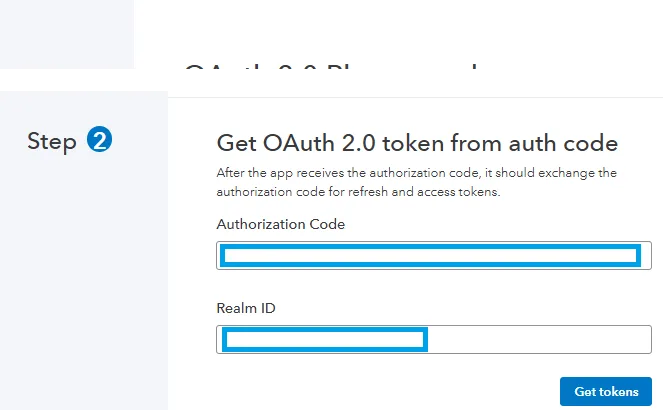
Copy your refresh token to a safe, encrypted location, preferably directly into ADF. Otherwise if you need to re-generate the refresh token, you would do it from this secured screen.

Fill in the ADF Linked Service form
Login to Azure DataFactory
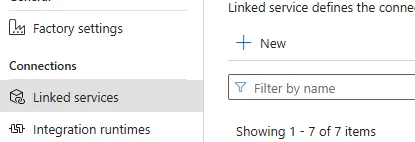
Go to Linked Services
Click +New
Add Quickbooks linked service
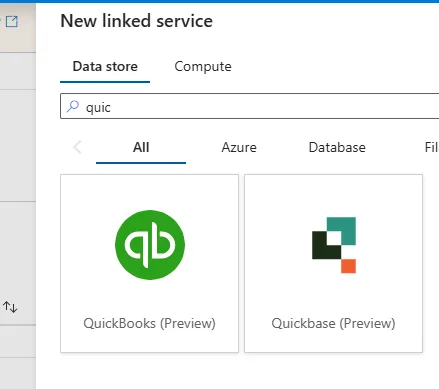
Fill in the Quickbooks parameters based on previous documented steps:
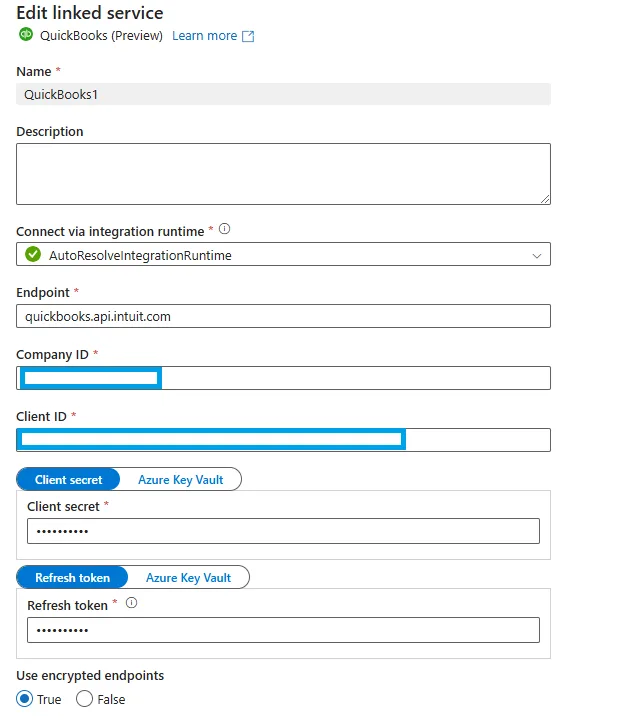
Endpoint: quickbooks.api.intuit.com
Company Id: Numeric ID obtained from “Additional info” tab
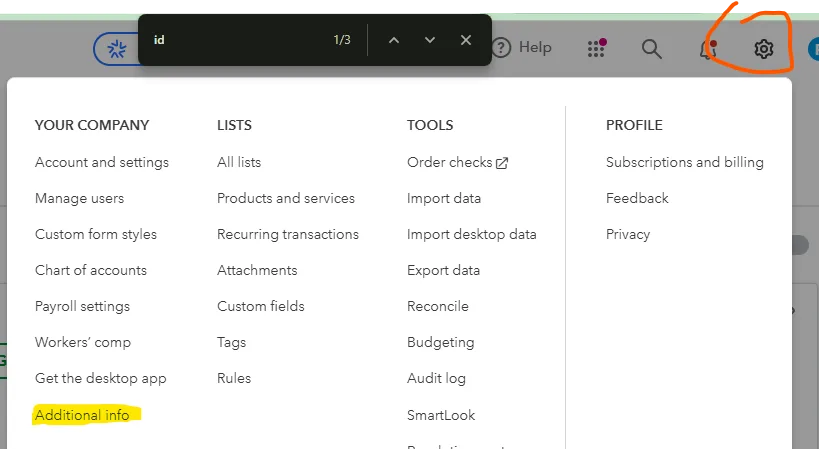
Client ID and Secret: View steps
Refresh Token : View Steps
Test the connection and save
