Snowflake Connectors in Salesforce Explained
Make sure you check with your 3rd party app exchange partners that Tableau CRM is supported. There are a number of popular 3rd party app exchange apps that don’t support Tableau
Snowflake Connectors in Salesforce Explained
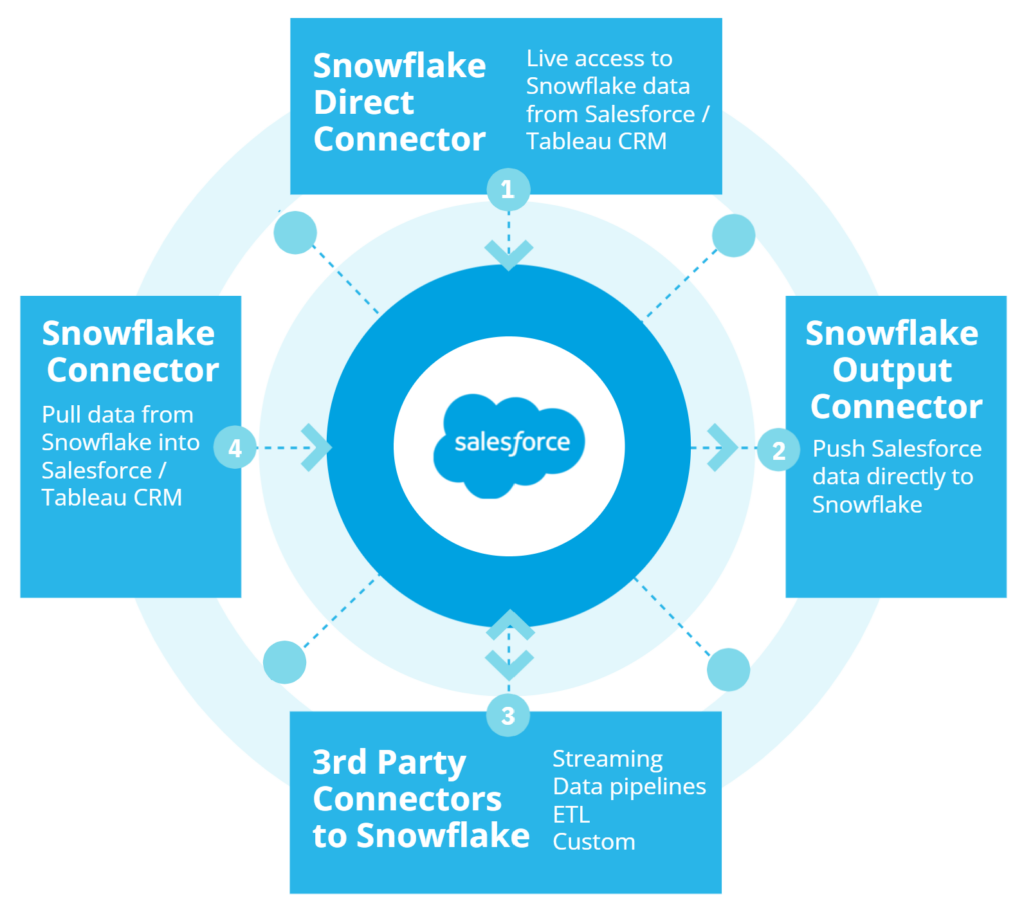
1. Snowflake Direct Connector
2. Snowflake Connector
3. Snowflake Output Connector
4. 3rd Party Connectors to Snowflake
Setup Output Connector to Snowflake
This is by far the most useful integration for reporting and analytics teams, eliminating the need for any data pipelines between Salesforce and your Snowflake database.
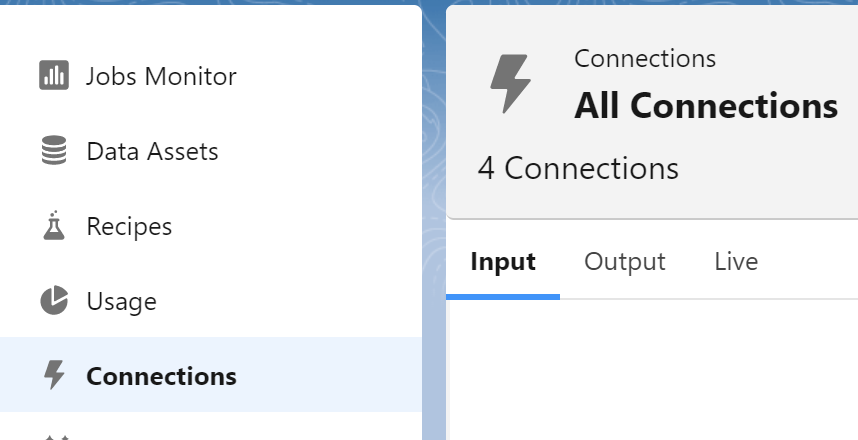
1. Log into Salesforce Data Manager
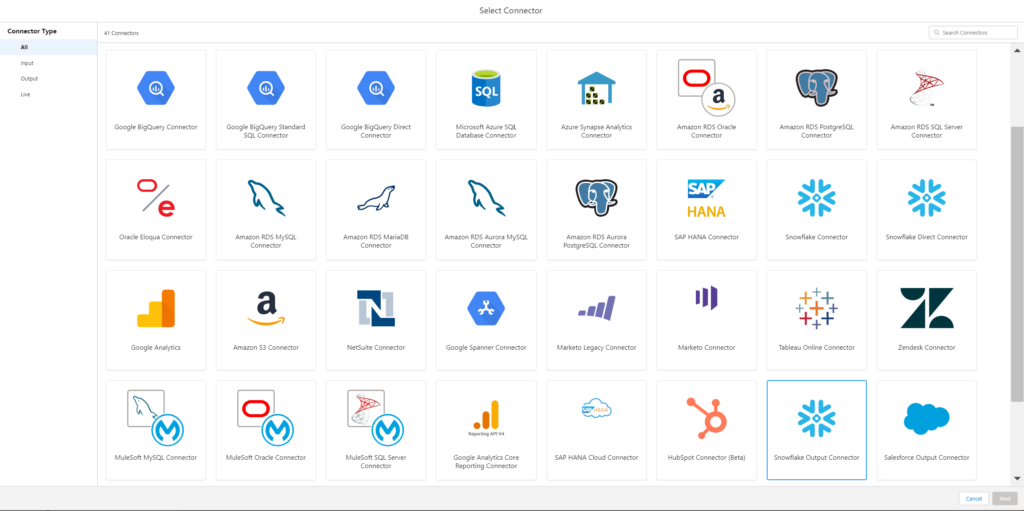
2. Click on Connections
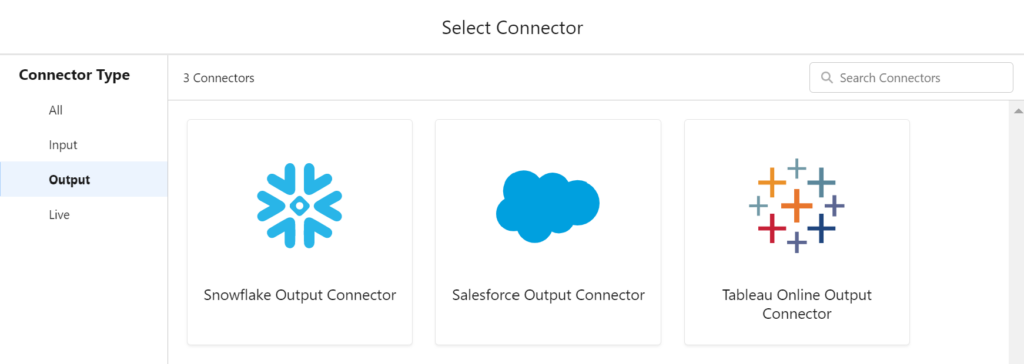
3. Select Snowflake Output Connector
4. Enter your Connection Name
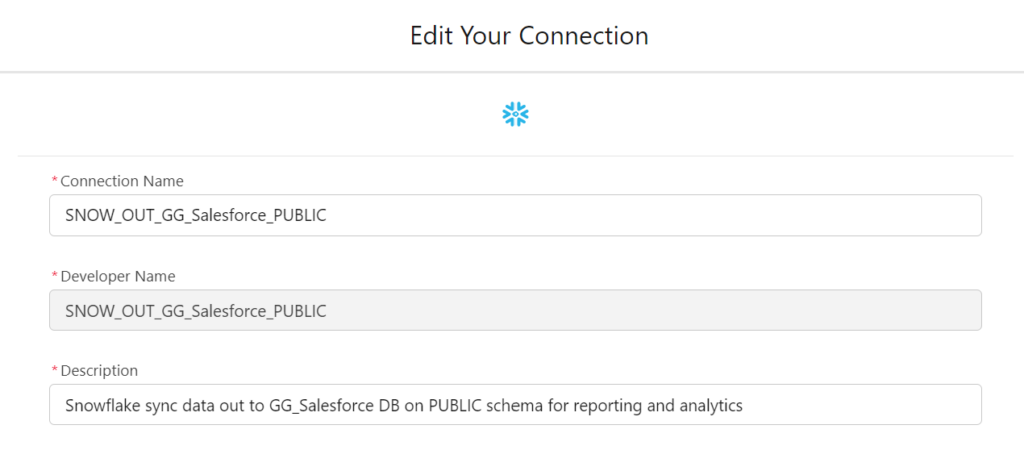
Make sure to be descriptive for what the connection name is and what it will connect to. When you re-use this connection, its easy to for others to get confused how and when each connection is used. Here is a naming convention I used:
SNOW_OUT_DATABASENAME_SCHEMA : In my example, I have a database I created in Snowflake: I entered “SNOW_OUT_GG_Salesforce_PUBLIC”
Enter your Developer Name
I simply copy my connection name to keep it consistent.
Enter your Description
I explain in plain english the same thing and the intent of the connection. I recommend not skipping this step:
“Snowflake sync data out to GG_Salesforce DB on PUBLIC schema for reporting and analytics”
Authentication into Salesforce
Authentication is very important for your snowflake instance. In my case I have a dedicated Salesforce system user that I can control and rotate keys or passwords. Unless you have find grained roles and controls specifically designed for systems that have the ability to create tables and write to them, I recommend having a specific “SYSTEM_SALESFORCE” role.
Locking down access to Salesforce. In addition to providing access, you want to limit that access to Salesforce via whitelisting. I do recommend setting up your end to end solution before setting a network policy. Then before doing any deployments setup and test your policy. Read more on Snowflake
Enter Authentication Type: Leave authentication type to “Password” more details on authentication type is posted on Salesforce side.

More details on authentication type from the Salesforce documentation
The variety of authentication used for this connection. Accepted values are “OAuth”, “Password”, or “PrivateKey”.
- If you use OAuth, enter a value in the Named Credential field.
- If you use Password, enter a value in the Username and Password fields.
- If you use PrivateKey, enter a value in the Username, Private Key, and Private Key Passphrase fields.
Enter Username and Password:
If you use “PrivateKey” Authentication type, enter your Private Key and Private Key Passphrase.
Enter your Account.
The account name is the first segment in the domain in your Snowflake URL. For example, 123abc is your account name in https://123abc.snowflakecomputing.com. The fastest and easiest way to locate this URL is to login to your snowflake instance and then logout. Snowflake will return you to the proper login page.

Enter your Warehoues and Role for Snowflake.
Enter your Database and Schema for Snowflake.
This means each Database and Schema you would like to load will require a new connection
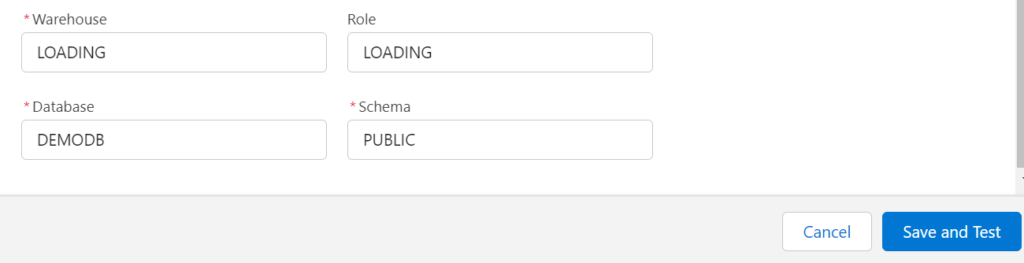
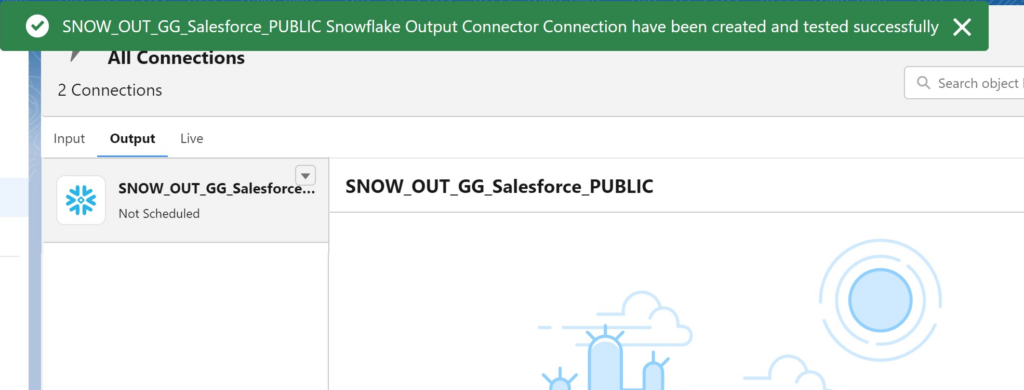
Press Save and Test
Upop success you will get a confirmation for success.
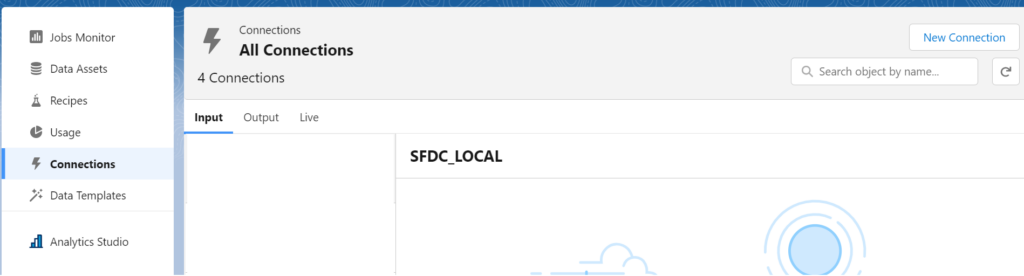
Setup Input Connector to Salesforce
Select Connections
Select Input and Click New Connection button
Select Salesforce Connector
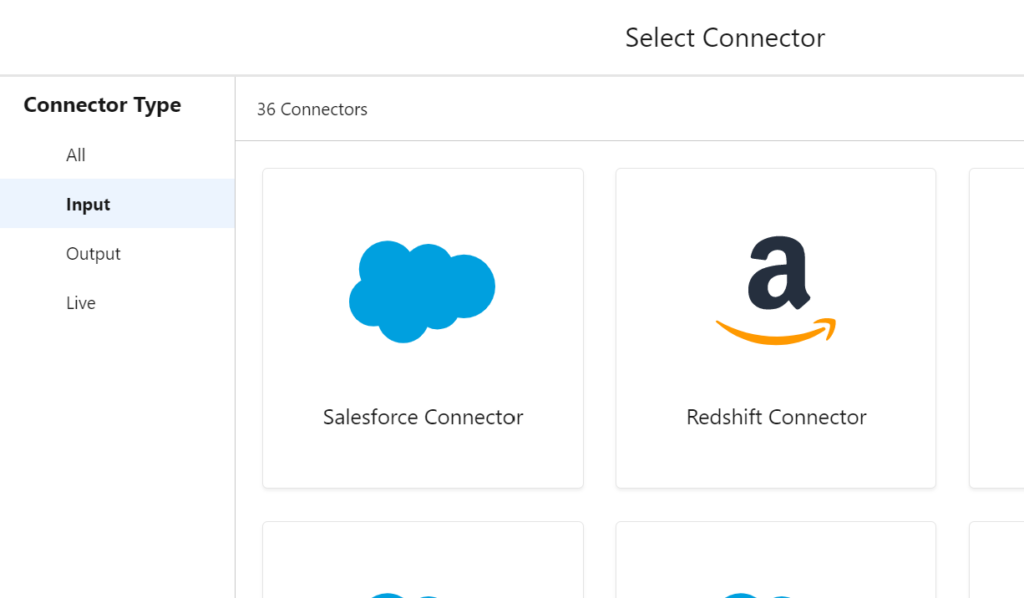
Setup Input Connector to Salesforce
Select the first object you would like to sync. In this scenario we searched for Opportunity
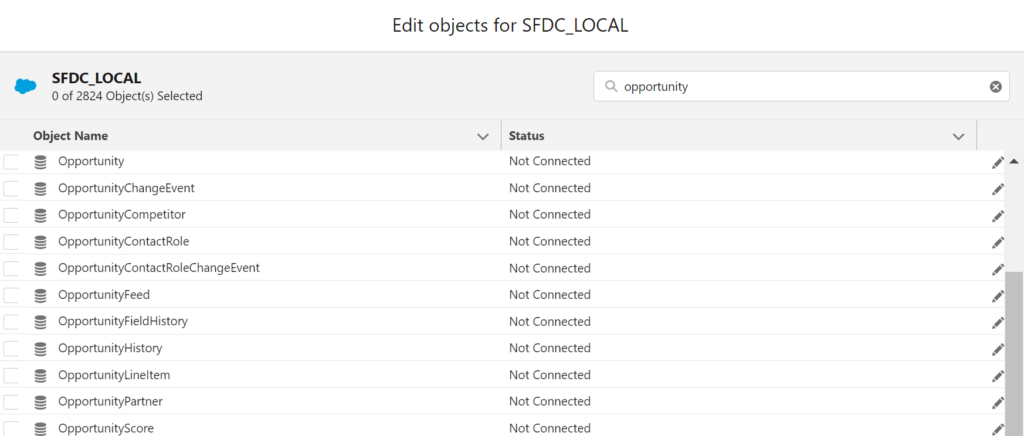
Select the checkbox next to “Opportunity”
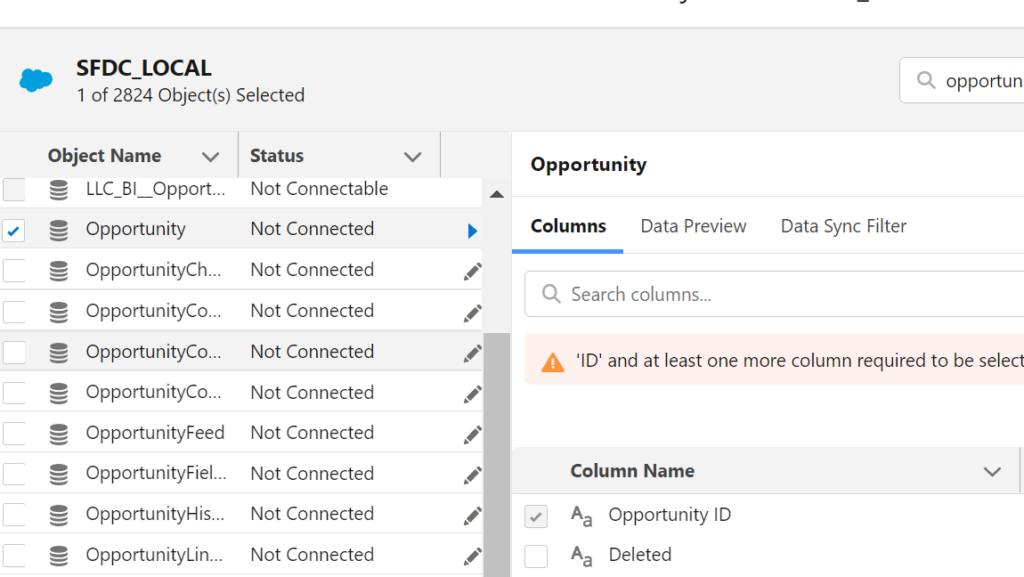
Select the fields you would like to sync. You cannot select “All” firelds.
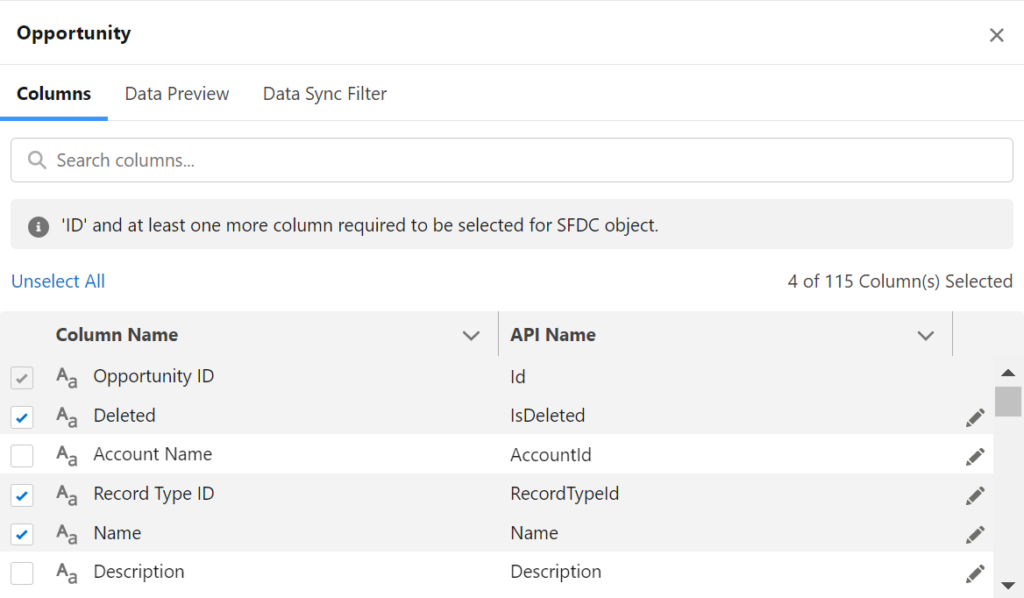
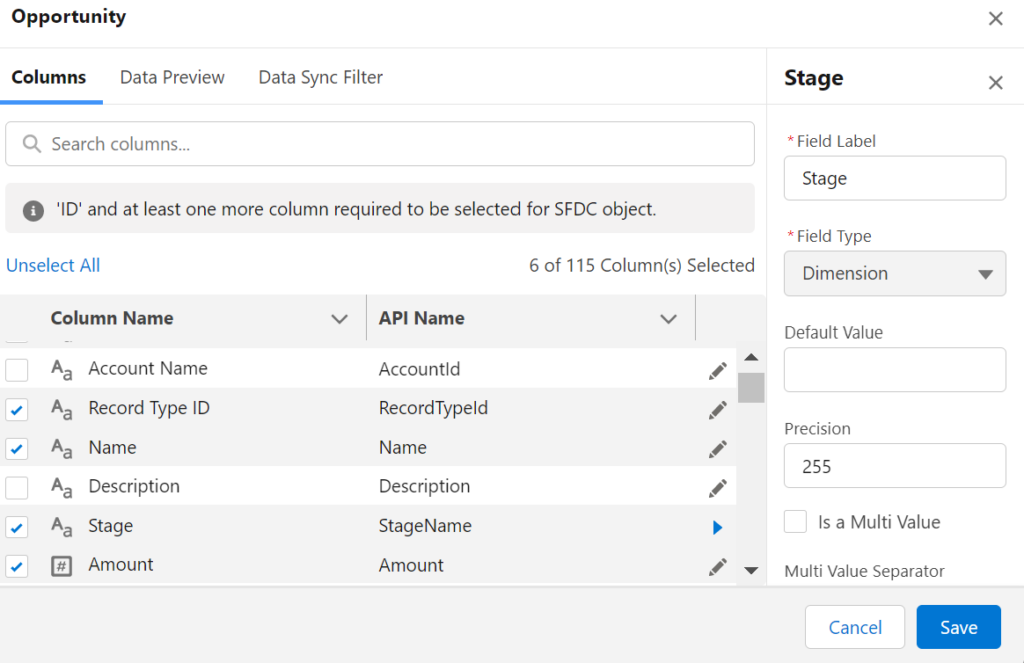
Click the edit pencil icon for any field
As you can see you can update the label, default value and precision. This is less for synchronization to snowflake and more to aid you in Tableau CRM building flows.
THe end result will be a list of objects and a count of fields
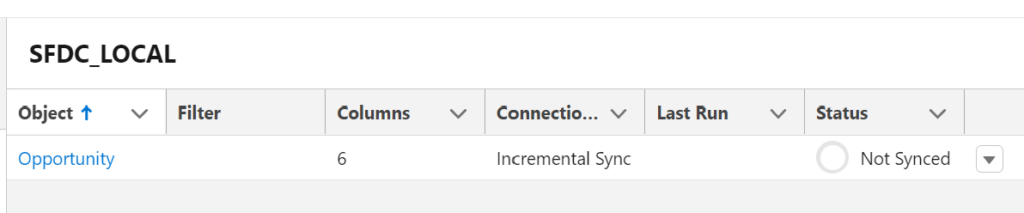
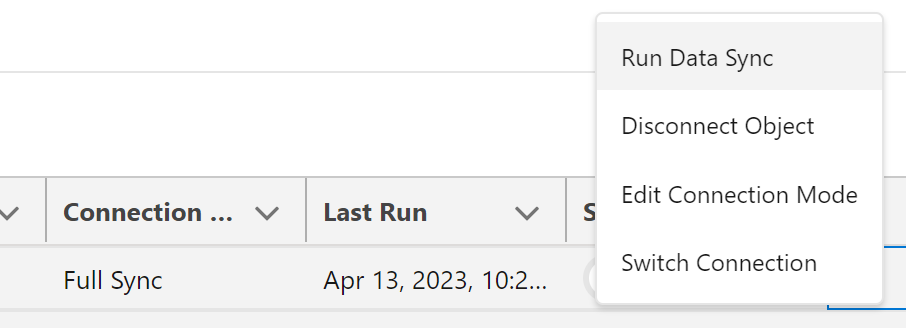
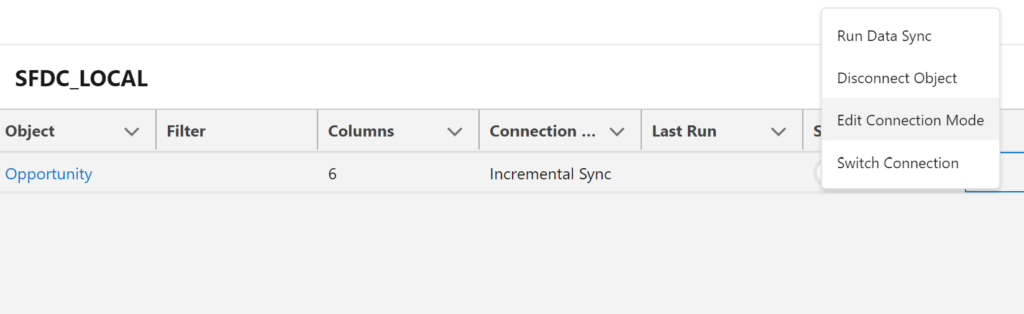
Click the Down arrow to the right of the status and select Edit Connection Mode
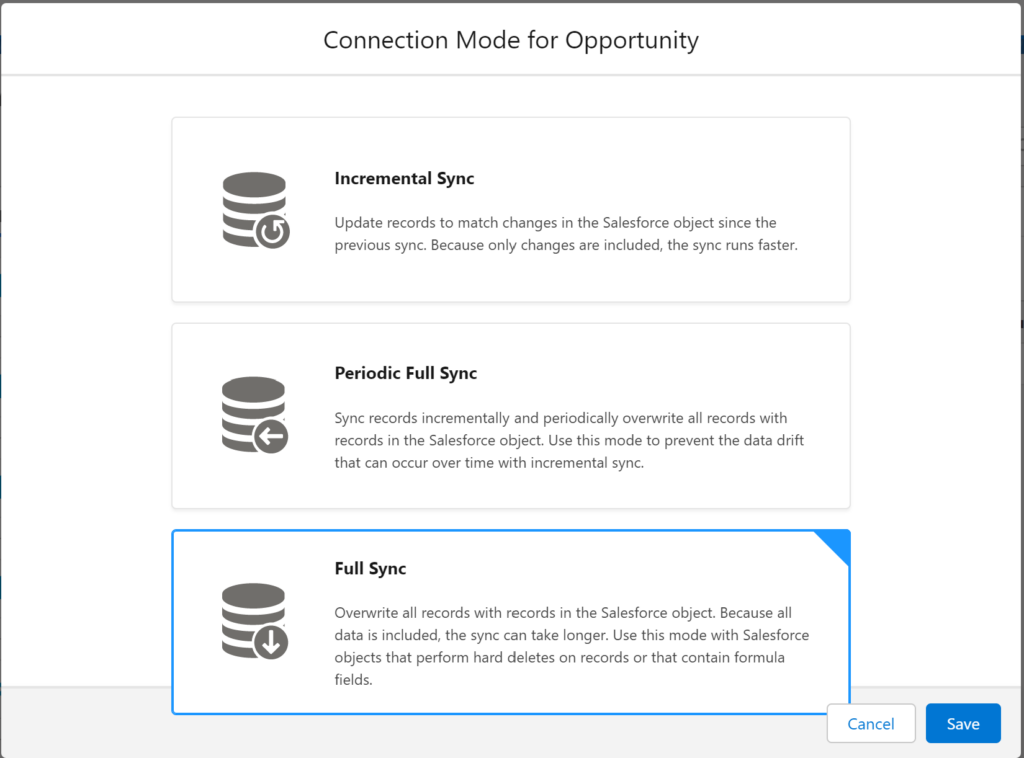
Select the Connection mode. I recommend Full Sync for daily sync. For more period Syncs during the business day I recommend Periodic Full Sync.
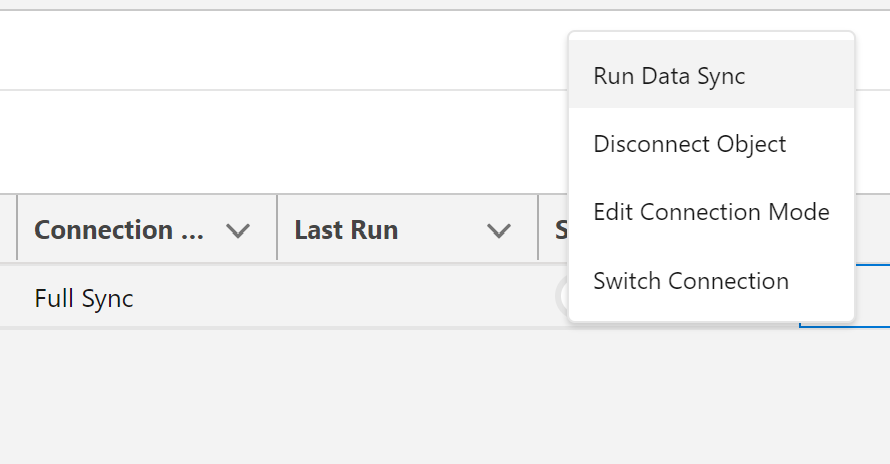
Click the Down arrow to the right of the status and select Run Data Sync
Setup Output Sync and Schedule the Sync
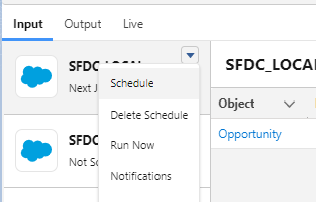
For your Input Salesforce connection, cick on the down arrow to show the menu and click Sync Out
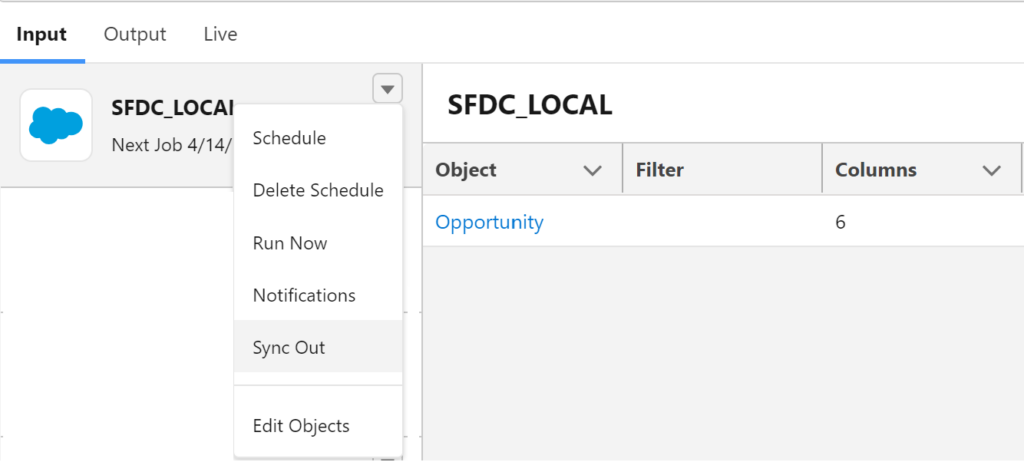
Select Enable Sync Out then select the Snowflake output connection. Finally press Save

Rerun the data sync to test and confirm the output Sync works. Click Run Data Sync